Sensor settings
Step 1. Connect the backpack sensor to your computer via USB
-
Plug the 4-pin connector to the USB cable section labelled DATA.
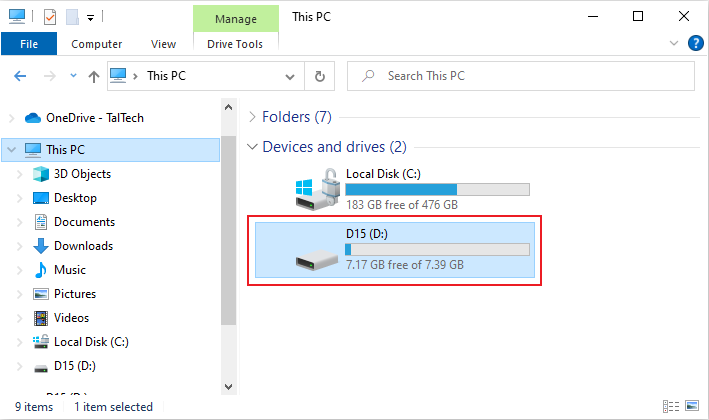
Step 2. Accessing the SD card
- Navigate to the storgage device on your computer with the same name as the sensor.
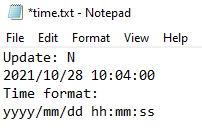
Step 3. How to set the date and time
- Open the "time.txt" file and edit the date and time in the format yyyy / mm / dd hh: mm: ss .
- Replace the "Update: N" (no update) to "Update: Y" (yes update) and save the file.
-
Important: The time will only update after the device has been started again. To update the date and time, you will need to activate the sensor with the magnetic switch. Once the sensor is activated, it will read the new date and time from time.txt file and update it.
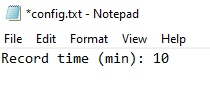
Step 4. Set the measurement time
- Open the "config.txt" file and edit the number after the "Record time (min):".
-
Enter 1 - 999 (min) - It accepts integers only (e.g. 1, 3, 30 NOT 2.5 or 99.9). Save the file.
Step 5. Set the time to start loging data
- Open the file "wakeup.txt" and edit the date and time you want the sensor to start logging data.
-
Make sure the date and time are in this format yyyy / mm / dd hh: mm: ss and save the file.
Step 6. Check battery voltage
- Open the last data file and verify that the battery voltage is higher than 4V.
- If a red LED on the backpack sensor is on, it means that the battery is charging. When the battery is fully charged, the red LED turns off.
Step 7. Safely remove the device from your computer
- Right click on the device and eject.
