Settings
1. Connect the RAPID sensor to your computer
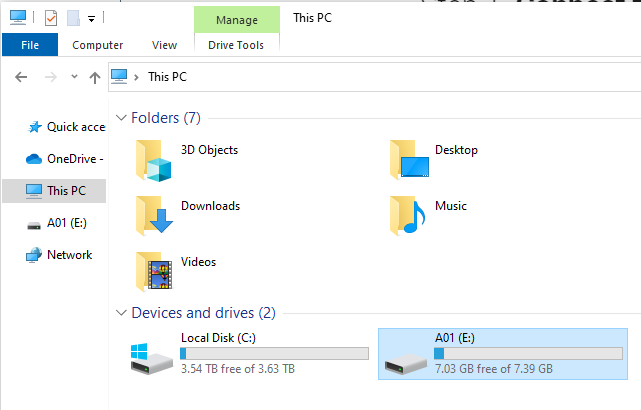
To access the setting files of the RAPID sensor you need to plug the RAPID sensor to your computer.
-
Plug the USB-C cable from the RAPID sensor to your computer.

-
Access the device on your computer by clicking on the device with the same name as your RAPID sensor.
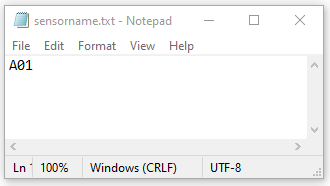
1.1. How to change the name of the sensor
-
Open the "sensorname.txt" file, replace the current name with the new name, close the file and save the changes.
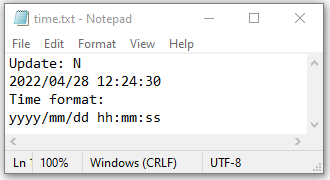
1.2. How to set date and time
- Open the "time.txt" file and replace the "N" with a "Y".
-
Replace the date and time with the current datetime in the format specified below "Time format", close the file and save the changes.
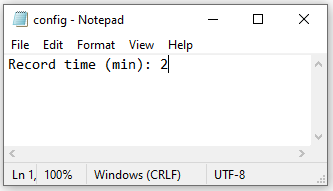
1.3. How to set the measurement time
-
Open the "config.txt" file, replace the time with the time in minutes you want the sensor to record data, close the file and save the changes.
1.4. How to calibrate the accelerometer
If a "calibration.txt" file already exists, remove or rename this file and then eject and unplug the RAPID sensor from your computer.
- Turn off the RAPID sensor and place it vertically on a flat surface. Do not touch or move the sensor during calibration.
- Turn on the sensor using the magneting ring. The LED will start flashing colours, this means the accelerometer is calibrating.
-
Wait until the LED flashes green. Once the LED flashes green, the calibration is successful.
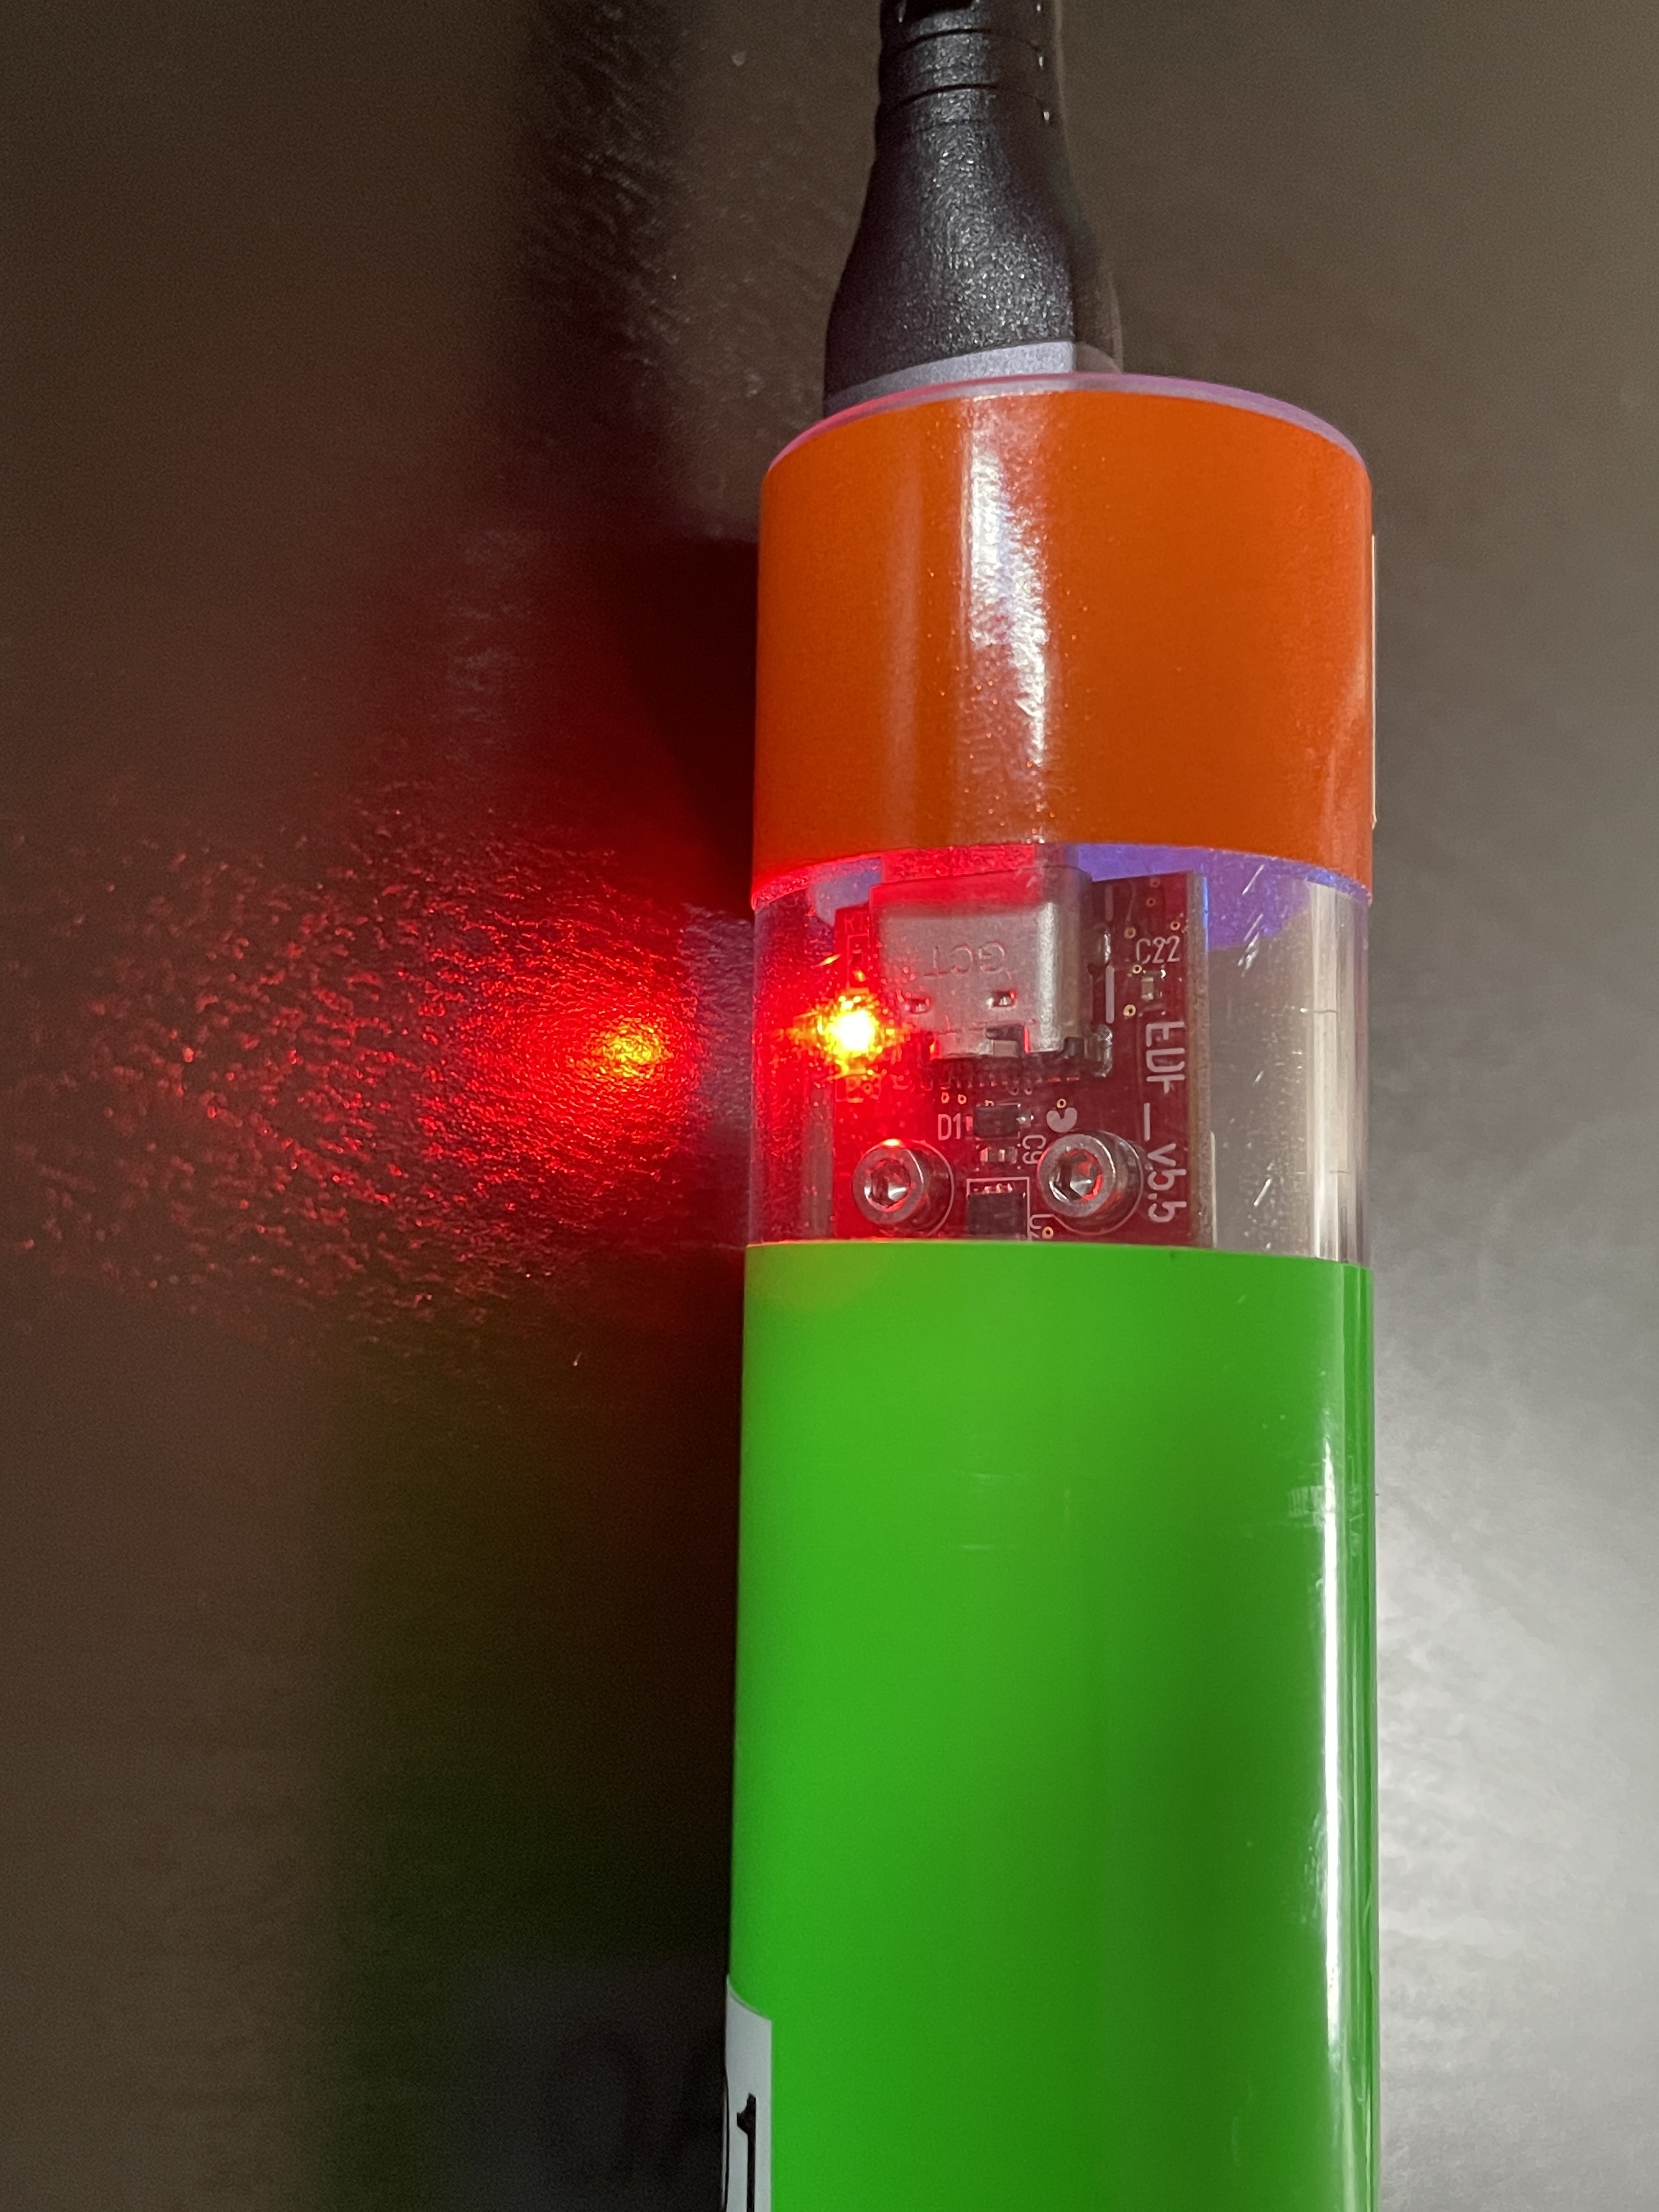
2. How to charge the RAPID sensor
-
Plug the RAPID to your computer with the USB-C cable and make sure there is a red light on the device. This light indicates that the RAPID is charging.